How to Flash Your Motorcycle ECU: A Step-by-Step Guide for Beginners
Flashing your motorcycle’s ECU can unlock hidden performance, optimize fuel efficiency, and customize your ride to your exact needs. But how do you do it safely and affordably? In this guide, we’ll break down the process for beginners using MotoFlasher, one of the easiest tools for DIY motorcycle ECU tuning.
What Is ECU Flashing?
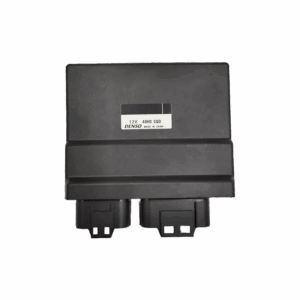
ECU (Engine Control Unit) flashing is the process of rewriting the software in your bike’s ECU. It allows you to adjust parameters like fuel mapping, ignition timing, rev limits, and more.
Is ECU Flashing Safe?
Yes—when done correctly. With a trusted tool like MotoFlasher, the process is completely safe. It’s designed to guide even first-time users step-by-step, reducing the risk of bricking your ECU.
What You’ll Need
MotoFlasher software
OBD cable (specific to your bike)
Windows PC or laptop
Internet connection
Step-by-Step Flashing Process
Check Compatibility: Visit MotoFlasher’s site and verify if your ECU is supported.
Download Software: Install MotoFlasher on your PC.
Connect Your Bike: Use an OBD cable to connect the bike’s ECU to your laptop.
Read Stock ECU: Always back up your original map before tuning.
Write to ECU: Flash the modified map directly to your bike.
Final Tips
Always keep your battery charged during flashing.
Avoid cheap, generic tools—they risk damaging your ECU.
Stick to proven maps or consult experts for advanced tuning.
Conclusion
ECU flashing no longer requires expensive dyno time or mechanical degrees. With tools like MotoFlasher, anyone can safely and affordably unlock their bike’s true potential.